Page not found
Sorry, but the page you were trying to get to, does not exist. You may want to try searching this site using the sidebar to find what you were looking for.
Sorry, but the page you were trying to get to, does not exist. You may want to try searching this site using the sidebar to find what you were looking for.
Client for DiscoLog.
Configuration related module for DiscoLog.
Add context to logs and errors using the Logger metadata.
Obtain the context of the current process.
Dedupe module to prevent reporting error multiple times.
Original implementation from Sentry Elixir https://github.com/getsentry/sentry-elixir/blob/69ac8d0e3f33ff36ab1092bbd346fdb99cf9d061/lib/sentry/dedupe.ex
Returns a specification to start this module under a supervisor.
Returns a specification to start this module under a supervisor.
See Supervisor.
@spec insert(DiscoLog.Error.t()) :: :new | :existing
@spec start_link(keyword()) :: GenServer.on_start()
This module contains the Discord API client.
Discord configuration module.
Context around Discord.
Abstraction over Discord api
Struct for error or exception.
Used to compare errors for deduplication original implementation from Sentry Elixir https://github.com/getsentry/sentry-elixir/blob/69ac8d0e3f33ff36ab1092bbd346fdb99cf9d061/lib/sentry/event.ex#L613
Used to compare errors for deduplication original implementation from Sentry Elixir https://github.com/getsentry/sentry-elixir/blob/69ac8d0e3f33ff36ab1092bbd346fdb99cf9d061/lib/sentry/event.ex#L613
Integration with Oban.
It is a plug and play integration: as long as you have Oban installed the error will be reported.
It works using Oban's Telemetry events, so you don't need to modify anything on your application.
By default we store some context for you on errors generated in an Oban process:
job.id: the unique ID of the job.
job.worker: the name of the worker module.
job.queue: the name of the queue in which the job was inserted.
job.args: the arguments of the job being executed.
job.priority: the priority of the job.
job.attempt: the number of attempts performed for the job.
Integration with Phoenix applications.
It is a plug and play integration: as long as you have Phoenix installed the DiscoLog will receive and store the errors as they are reported.
It also collects the exceptions that raise on your LiveView modules.
It works using Phoenix's Telemetry events, so you don't need to modify anything on your application.
This integration only catches errors that raise after the requests hits your Router. That means that an exception on a plug defined on your Endpoint will not be reported.
If you want to also catch those errors, we recommend you to set up the
ErrorTracker.Integrations.Plug integration too.
For errors that are reported when executing regular HTTP requests (the ones
that go to Controllers), the context added by default is the same that you
can find on the ErrorTracker.Integrations.Plug integration.
As for exceptions generated in LiveView processes, we collect some special information on the context:
live_view.view: the LiveView module itself,
live_view.uri: last URI that loaded the LiveView (available when the
handle_params function is invoked).
live_view.params: the params received by the LiveView (available when the
handle_params function is invoked).
live_view.event: last event received by the LiveView (available when the
handle_event function is invoked).
live_view.event_params: last event params received by the LiveView
(available when the handle_event function is invoked).
Integration with Plug applications.
The way to use this integration is by adding it to either your Plug.Builder
or Plug.Router:
defmodule MyApp.Router do
use Plug.Router
use DiscoLog.Integrations.Plug
...
endThere is a particular use case which can be useful when running a Phoenix web application.
If you want to record exceptions that may occur in your application's endpoint before reaching your router (for example, in any plug like the ones decoding cookies of body contents) you may want to add this integration too:
defmodule MyApp.Endpoint do
use Phoenix.Endpoint
use DiscoLog.Integrations.Plug
...
endBy default we store some context for you on errors generated during a Plug request:
request.host: the conn.host value.
request.ip: the IP address that initiated the request. It includes parsing
proxy headers
request.method: the HTTP method of the request.
request.path: the path of the request.
request.query: the query string of the request.
request.params: parsed params of the request (only available if they have
been fetched and parsed as part of the Plug pipeline).
request.headers: headers received on the request. All headers are included
by default except for the Cookie ones, as they may include large and
sensitive content like sessions.
Integration with Tesla
Your tesla client must be configured to use the Tesla.Middleware.Telemetry
It works using Tesla's Telemetry events
The Tesla.Env struct is converted to a map and passed as context to the error report.
read more on https://hexdocs.pm/tesla/Tesla.Middleware.Telemetry.html#module-telemetry-events
A logger handler :logger handler
Original source: https://github.com/getsentry/sentry-elixir/blob/69ac8d0e3f33ff36ab1092bbd346fdb99cf9d061/lib/sentry/logger_handler.ex
@spec adding_handler(:logger.handler_config()) :: {:ok, :logger.handler_config()}
@spec changing_config(:update, :logger.handler_config(), :logger.handler_config()) :: {:ok, :logger.handler_config()}
A struct that contains the information about the execution stack for a given occurrence of an exception.
@type t() :: %DiscoLog.Stacktrace{lines: [DiscoLog.Stacktrace.Line.t()]}
Source of the error stack trace.
The first line matching the client application. If no line belongs to the current application, just the first line.
A GenServer to store the mapping of fingerprint to Discord Thread ID using ETS.
Add a new fingerprint -> thread_id mapping
Returns a specification to start this module under a supervisor.
Retrieve the thread_id for a given fingerprint
Start the Storage
Add a new fingerprint -> thread_id mapping
Returns a specification to start this module under a supervisor.
See Supervisor.
Retrieve the thread_id for a given fingerprint
Start the Storage
Elixir-based built-in error tracking solution.
Delete all threads and messages from channels.
Creates the necessary discord channels for DiscoLog.
Delete the discord channels used by DiscoLog if they exist.
Creates some sample logs and errors.
'+((o=e.lambda(l,l))!=null?o:"")+`
`},9:function(e,l,a,p,u){var o,n=e.lookupProperty||function(r,s){if(Object.prototype.hasOwnProperty.call(r,s))return r[s]};return((o=(n(a,"isArray")||l&&n(l,"isArray")||e.hooks.helperMissing).call(l??(e.nullContext||{}),l!=null?n(l,"results"):l,{name:"isArray",hash:{},fn:e.program(10,u,0),inverse:e.program(12,u,0),data:u,loc:{start:{line:23,column:2},end:{line:29,column:14}}}))!=null?o:"")+`The search functionality is full-text based. Here are some tips:
foo bar) are searched as OR* anywhere (such as fo*) as wildcard+ before a word (such as +foo) to make its presence required- before a word (such as -foo) to make its absence required: to search on a particular field (such as field:word). The available fields are title, doc and typeWORD^NUMBER (such as foo^2) to boost the given wordWORD~NUMBER (such as foo~2) to do a search with edit distance on wordTo quickly go to a module, type, or function, use the autocompletion feature in the sidebar search.
`},10:function(e,l,a,p,u){var o,n=e.lookupProperty||function(r,s){if(Object.prototype.hasOwnProperty.call(r,s))return r[s]};return"Sorry, we couldn't find anything for "+e.escapeExpression((o=(o=n(a,"value")||(l!=null?n(l,"value"):l))!=null?o:e.hooks.helperMissing,typeof o=="function"?o.call(l??(e.nullContext||{}),{name:"value",hash:{},data:u,loc:{start:{line:24,column:48},end:{line:24,column:57}}}):o))+`.
`},12:function(e,l,a,p,u){var o,n=e.lookupProperty||function(r,s){if(Object.prototype.hasOwnProperty.call(r,s))return r[s]};return(o=n(a,"if").call(l??(e.nullContext||{}),l!=null?n(l,"value"):l,{name:"if",hash:{},fn:e.program(13,u,0),inverse:e.program(15,u,0),data:u,loc:{start:{line:25,column:2},end:{line:29,column:2}}}))!=null?o:""},13:function(e,l,a,p,u){var o,n=e.lookupProperty||function(r,s){if(Object.prototype.hasOwnProperty.call(r,s))return r[s]};return"Invalid search: "+e.escapeExpression((o=(o=n(a,"errorMessage")||(l!=null?n(l,"errorMessage"):l))!=null?o:e.hooks.helperMissing,typeof o=="function"?o.call(l??(e.nullContext||{}),{name:"errorMessage",hash:{},data:u,loc:{start:{line:26,column:23},end:{line:26,column:39}}}):o))+`.
`},15:function(e,l,a,p,u){return`Please type something into the search bar to perform a search.
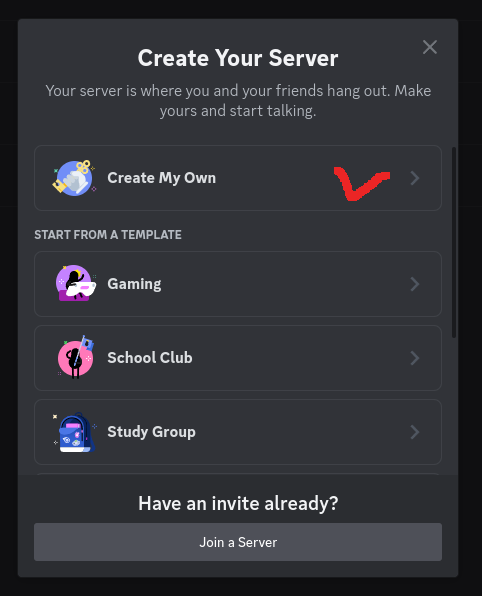
`},compiler:[8,">= 4.3.0"],main:function(e,l,a,p,u){var o,n=l??(e.nullContext||{}),r=e.lookupProperty||function(s,i){if(Object.prototype.hasOwnProperty.call(s,i))return s[i]};return`This guide is an introduction to DiscoLog. It will guide you through the setup of DiscoLog and how to use it.
The first step is to add DiscoLog to your applicaiton is to declare the package as a dependency in your mix.exs file.
defp deps do
[
{:disco_log, "~> 0.1.0"}
]
endThen run the following command to fetch the dependencies.
mix deps.get
You need to register a Discord Account
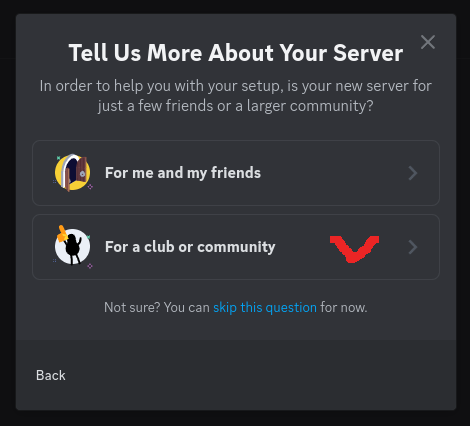
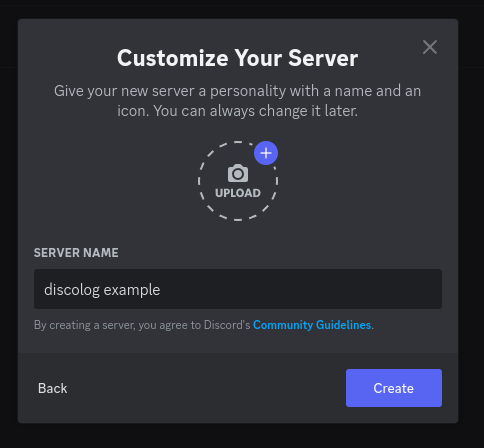
A Discord community server needs to have a forum-type channel, which we use for error tracking.
Right-click on the server and select Server Settings > Community Settings
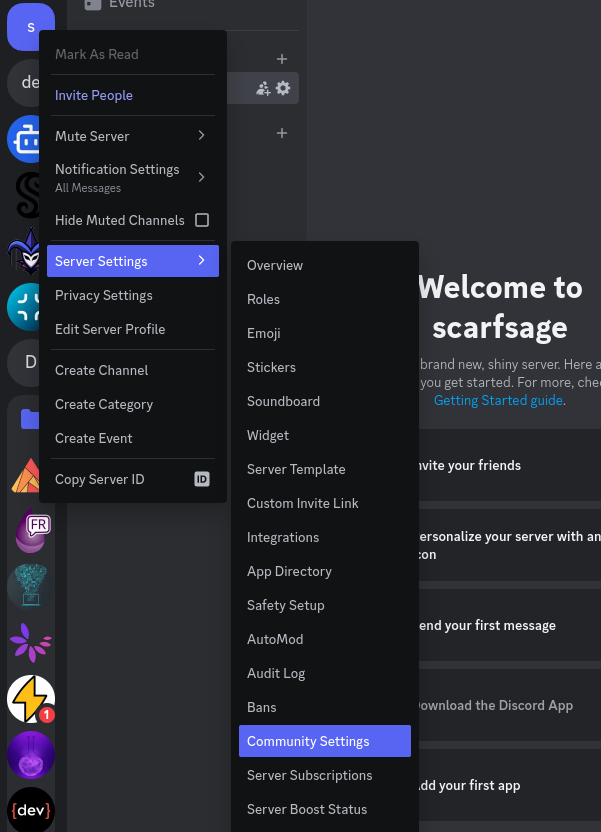

Copy the server ID, it will be needed later
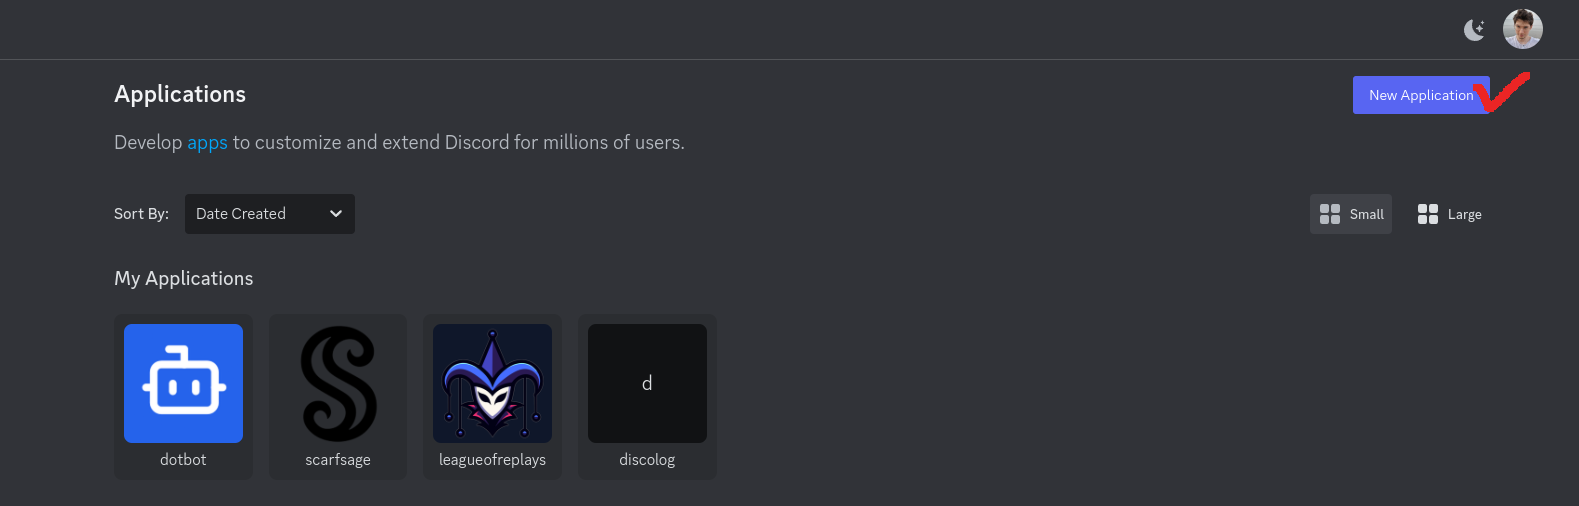
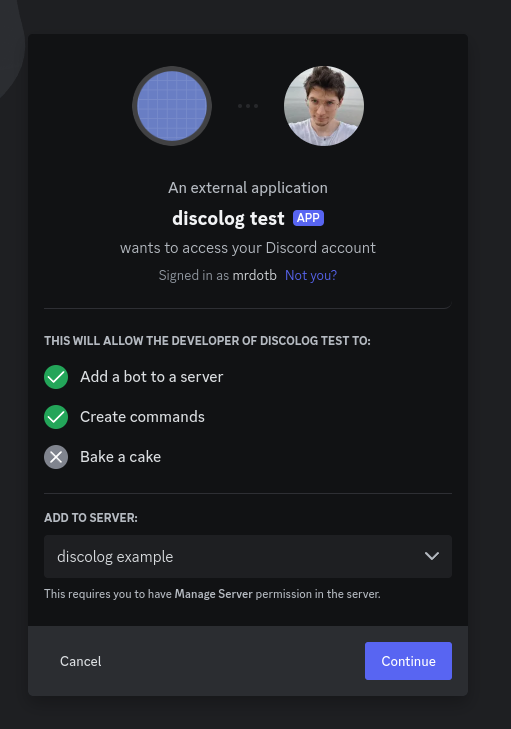
Go to the developers portal
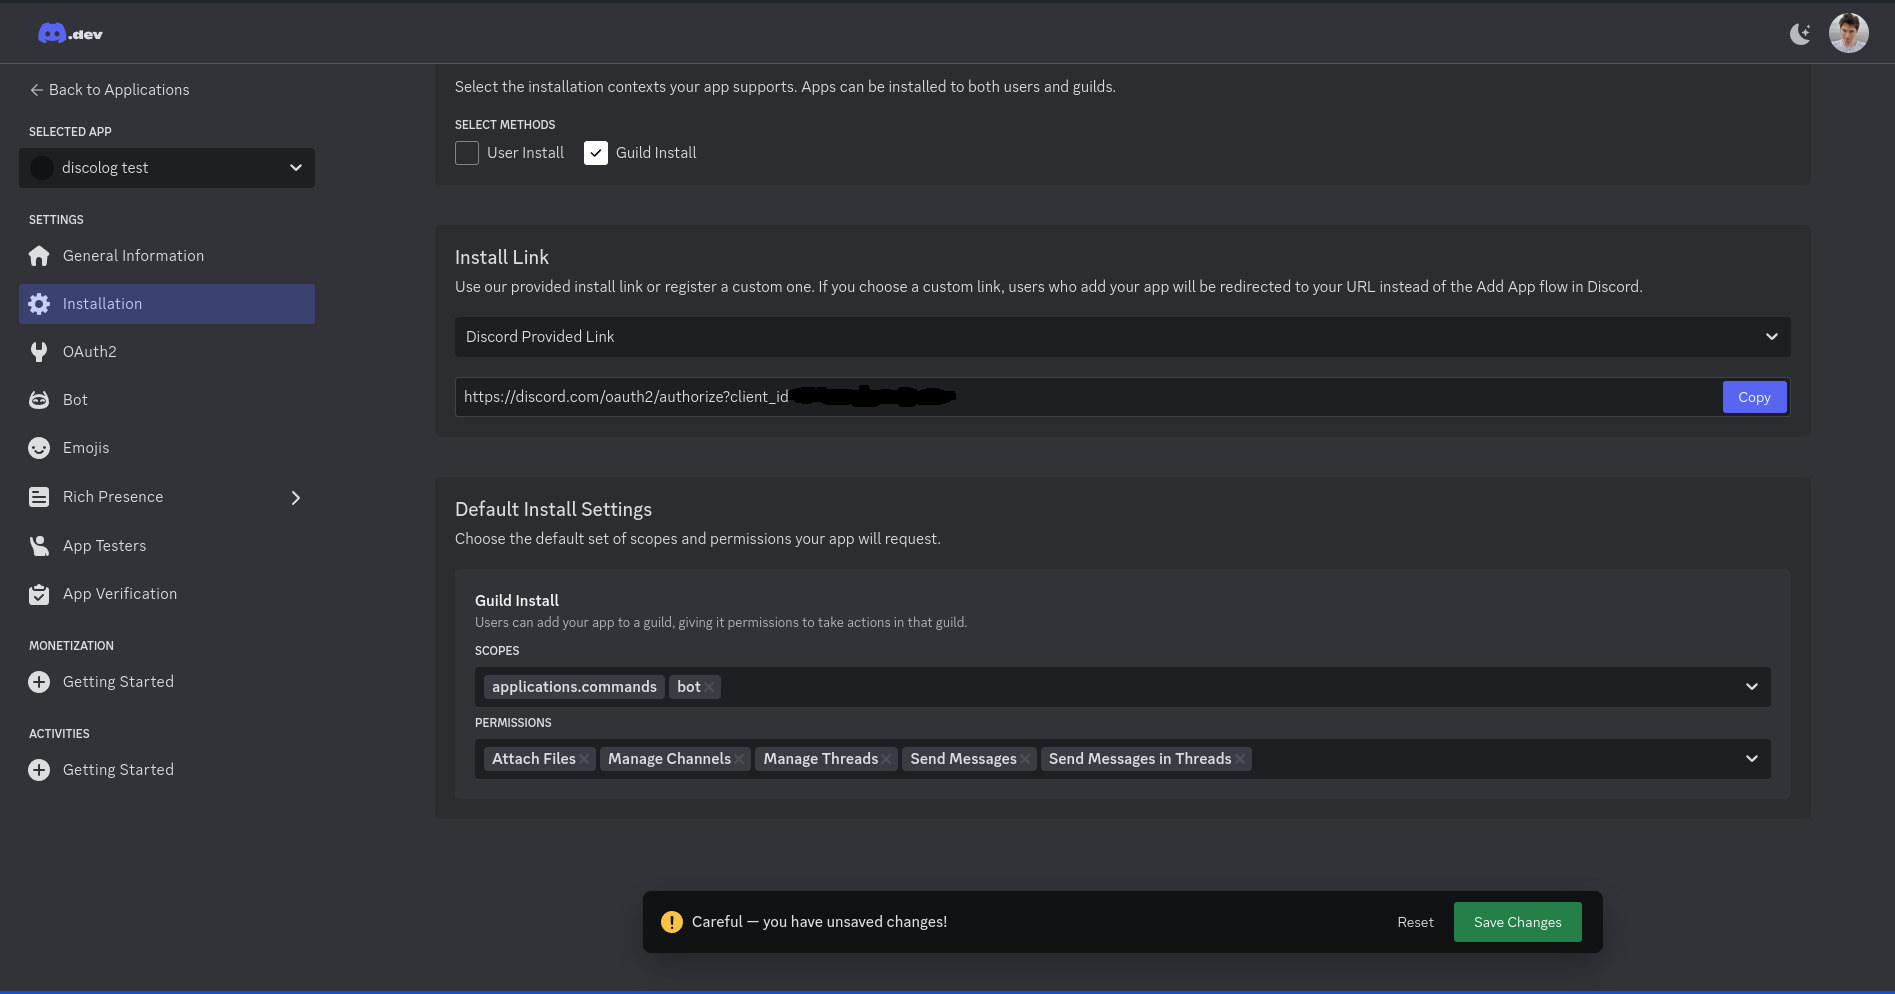
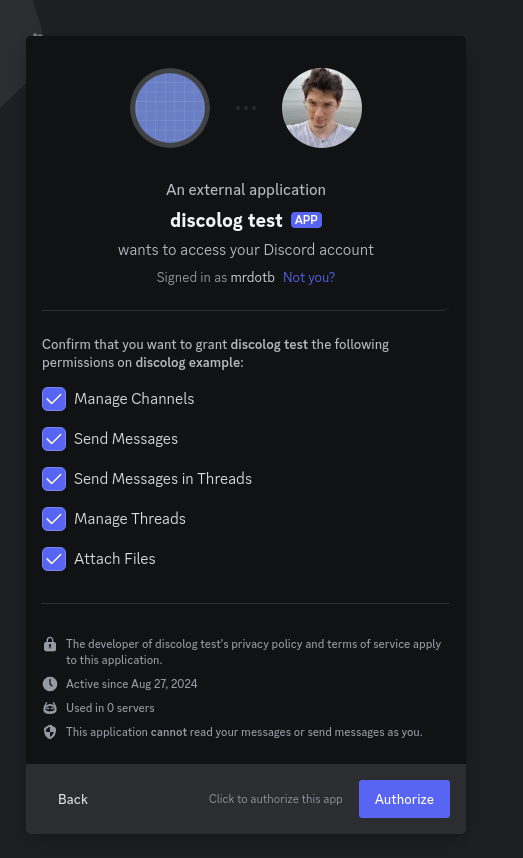
Disable User Install and add the scope bot and the permissions Attach Files, Manage Channels, Manage Threads, Send Messages, Send Messages in Threads
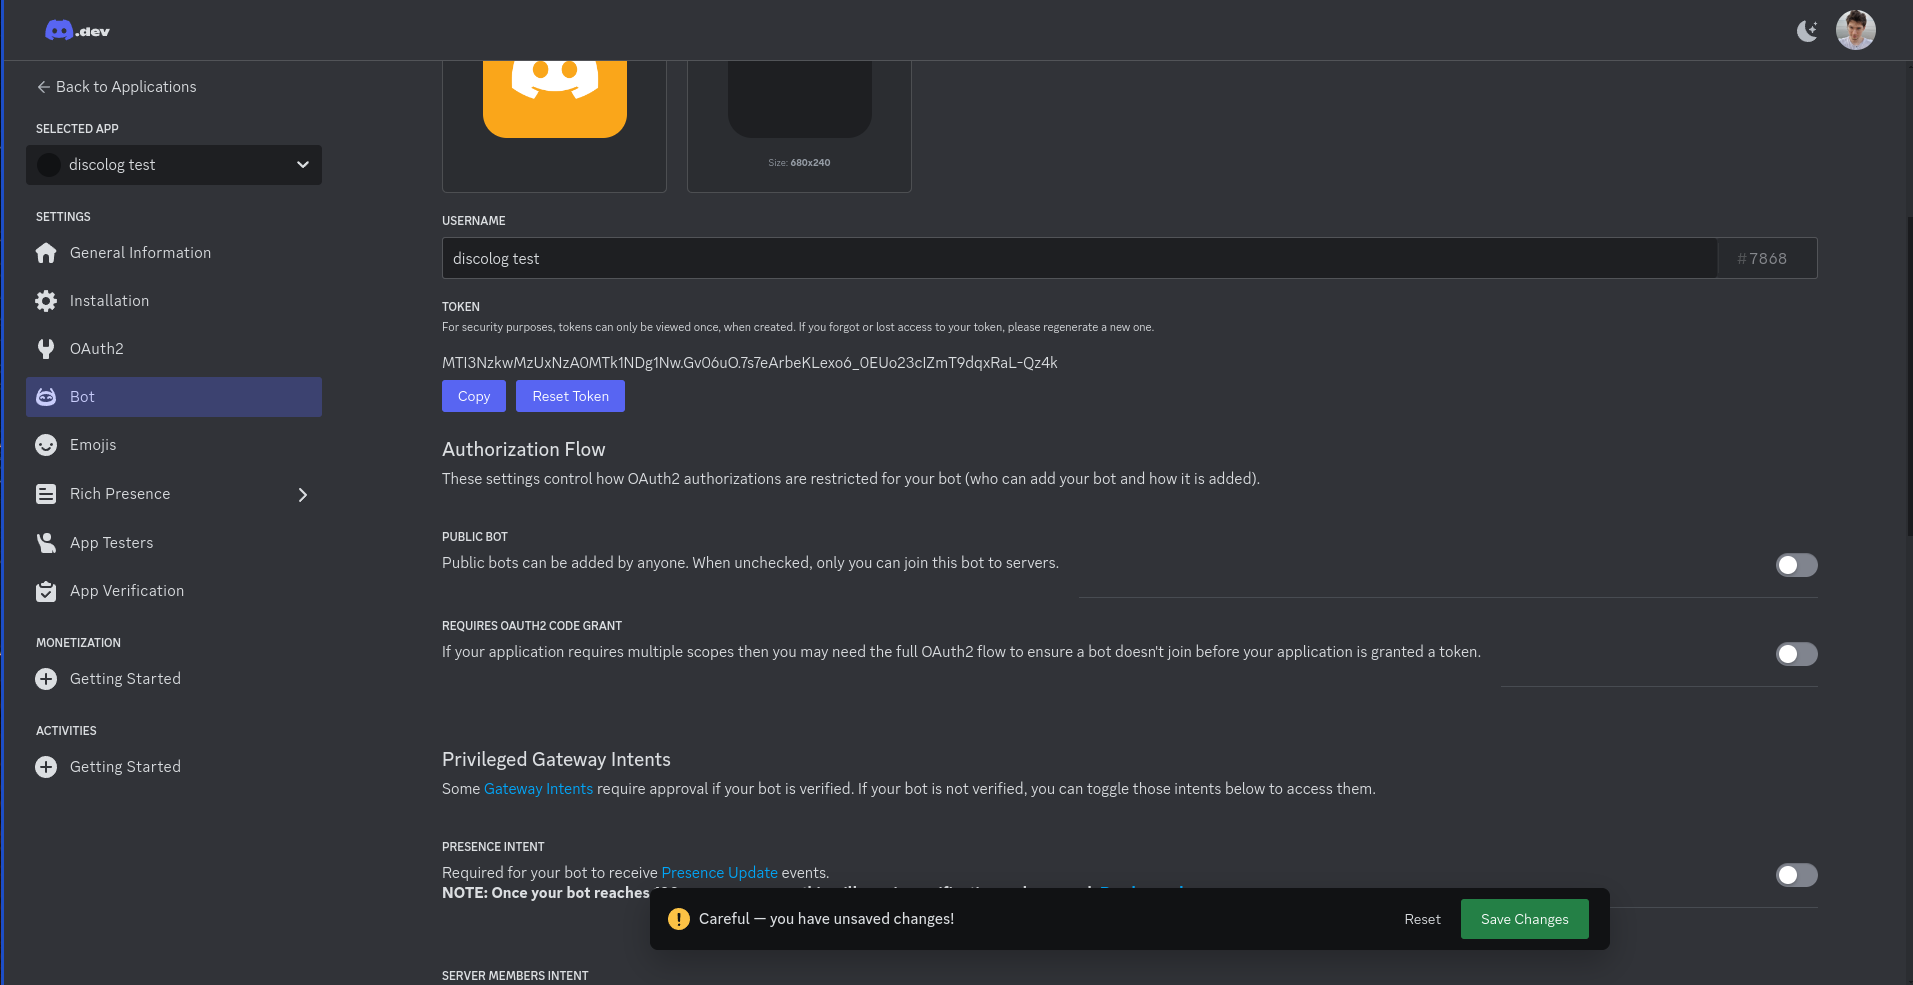
Generate and copy the bot token, it will be needed later
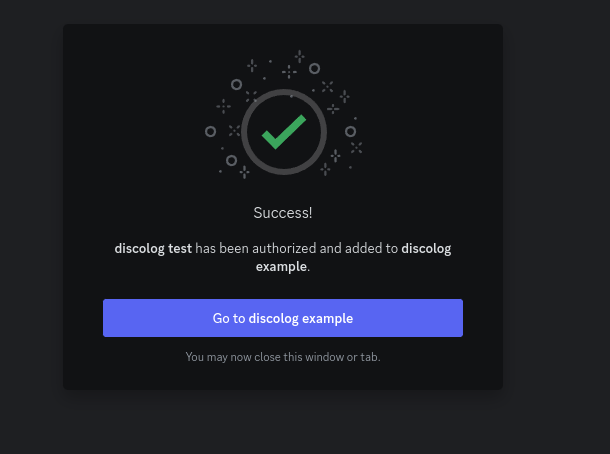
Go to the installation menu and open the installation link

Follow the steps
Edit your config/dev.exs and add the following configuration with the bot token and the server ID you copied earlier.
config :disco_log,
otp_app: :app_name,
token: "YOUR_BOT.TOKEN",
guild_id: "YOUR_SERVER_ID",Run the mix task
mix disco_log.createIt will create and output the rest of the necessary configuration for you. Use this configuration for your production environment or add it to your dev config if you want to test.
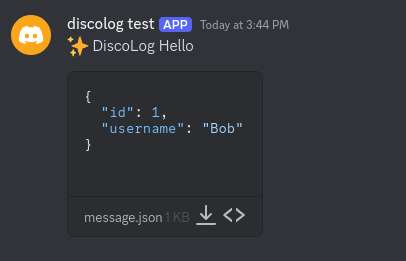
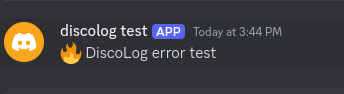
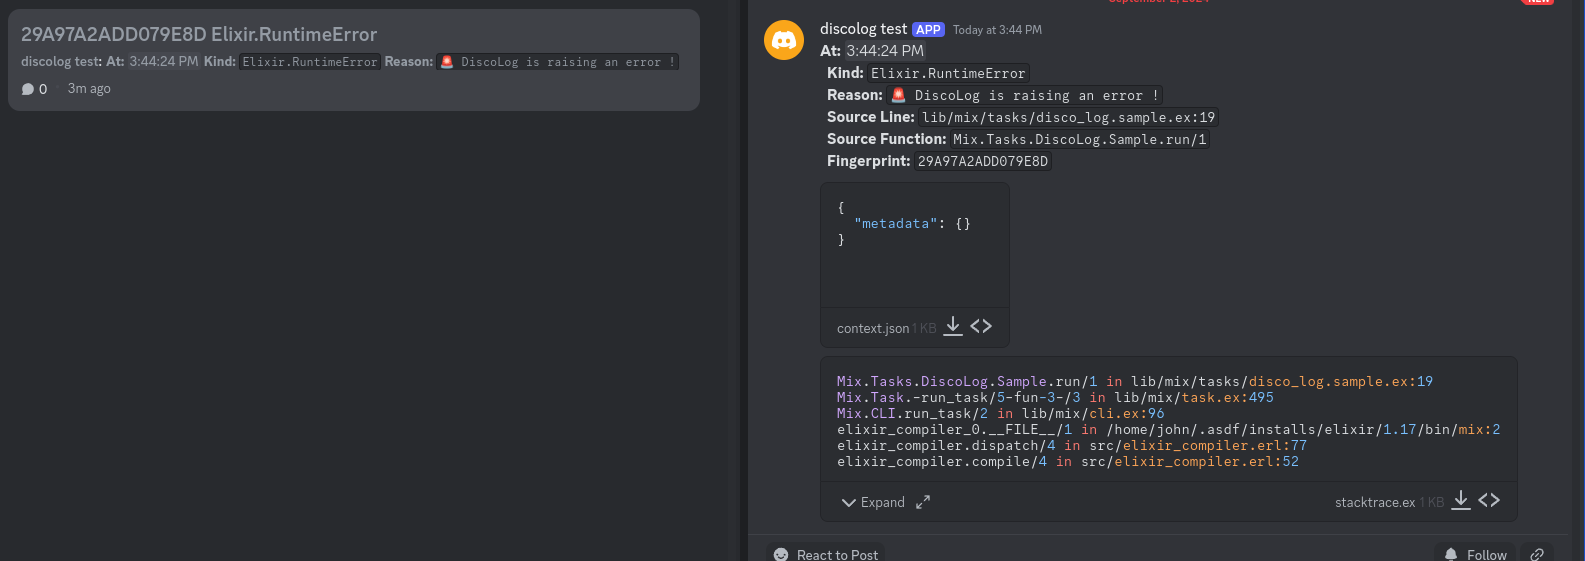
Confirm that everything is working smoothly by running the following mix command it will put a log in each channels.
mix disco_log.sampleHow it should look like
When you confirmed that the setup is working you should put this config to disable DiscoLog in dev.exs and test.exs env.
config :disco_log,
enable: falseEnjoy using DiscoLog!